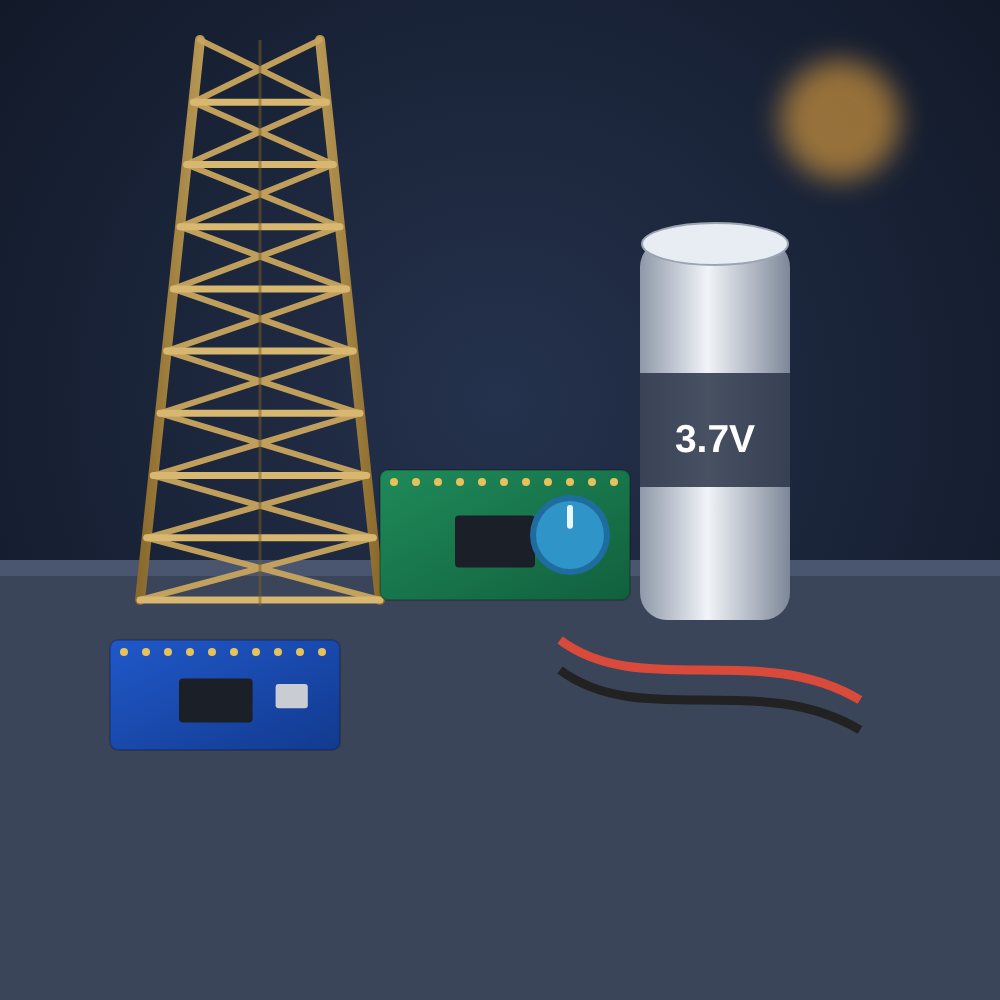
This guide walks you through the DIY kit version of the LED Windmill Desk Lamp. Work slowly on the tower: neat joints there make the whole lamp look good.
Check the parts
Lay the parts out and tick them off against this list.
| Qty | Part | Details | Included in |
|---|---|---|---|
| 20 | Brass rod | 0.8 mm × 300 mm, pre-cut | DIY kit |
| 6 | Brass rod | 1.2 mm × 300 mm, for the tower legs | DIY kit |
| 3 | LED filament | 38 mm, 3 V, 2200 K warm | All versions |
| 1 | N20 geared motor | 3 V, 30 RPM | All versions |
| 1 | Brass tube bearing | 4 mm, for the rotor shaft | DIY kit |
| 1 | Speed controller board | PWM with knob | All versions |
| 1 | USB-C charging board | TP4056 with protection | All versions |
| 1 | 18650 battery holder | Battery not included | All versions |
| 1 | Wooden base | 120 × 120 mm, pre-drilled | DIY kit |
| 1 | Soldering jig | 3D-printed tower template | DIY kit |
| 1 | Wire set | Red and black, 26 AWG | All versions |
A hot iron and brass rods get very hot. Hold rods with pliers, never with your fingers, and wear eye protection.
Step 1: Solder the tower legs
Tape the printed template to the jig. Lay two 1.2 mm rods along the outer lines and solder the cross braces from the bottom up.A little flux on every joint makes the solder flow instantly and keeps the joints shiny.
Step 2: Join the three sides
Make three identical sides, then stand them up into a triangle and solder the corners together. Check it stands straight on a flat table before moving on.
Step 3: Fit the motor and rotor
Push the N20 motor into the top cradle. Slide the brass tube onto the shaft and solder the three blade frames to it at 120° apart.
Step 4: Wire the filaments
Solder one filament into each blade frame. The frame carries power, so keep the + side toward the hub on all three.A filament fitted backwards won’t light. Test each one with the controller before closing up.
Step 5: Connect the base electronics
Screw the charging board and speed controller to the base, fit the battery holder, and connect red to + and black to −. Insert a charged 18650 cell and turn the knob.
If something does not work
Most problems are a cold solder joint. Reheat any dull or lumpy joint until it flows smooth and shiny.